You Might Like
-
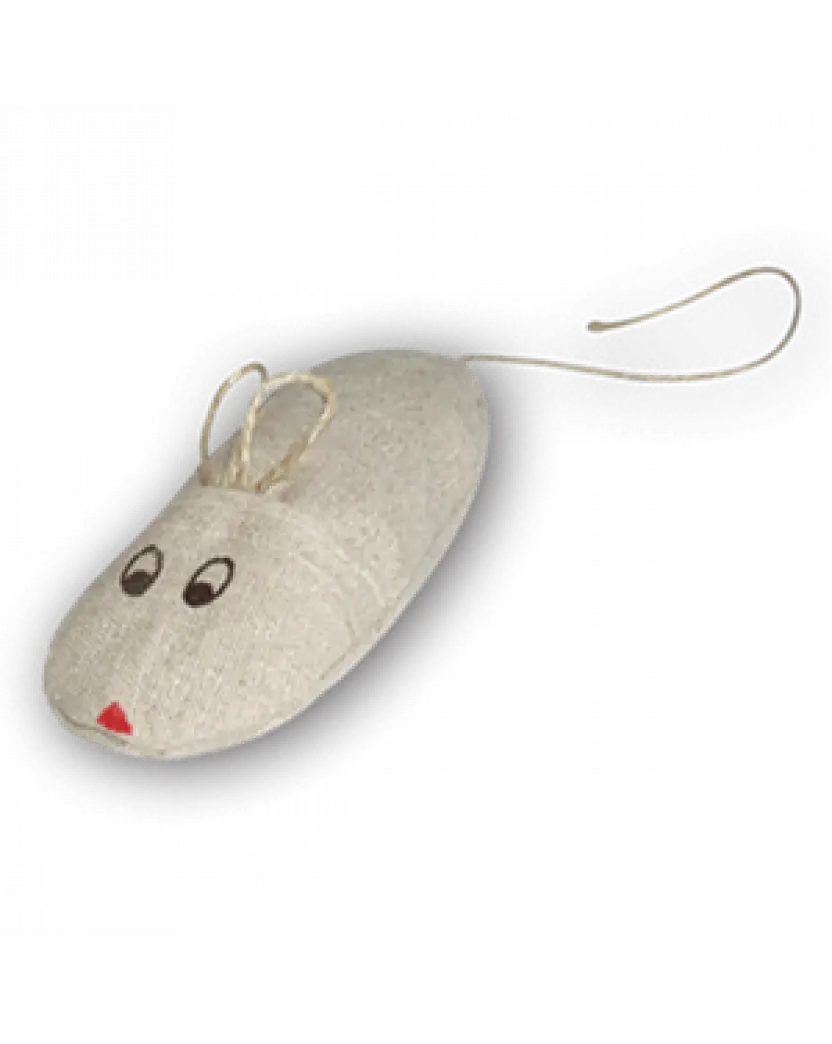
Stuffed Mouse Toy -
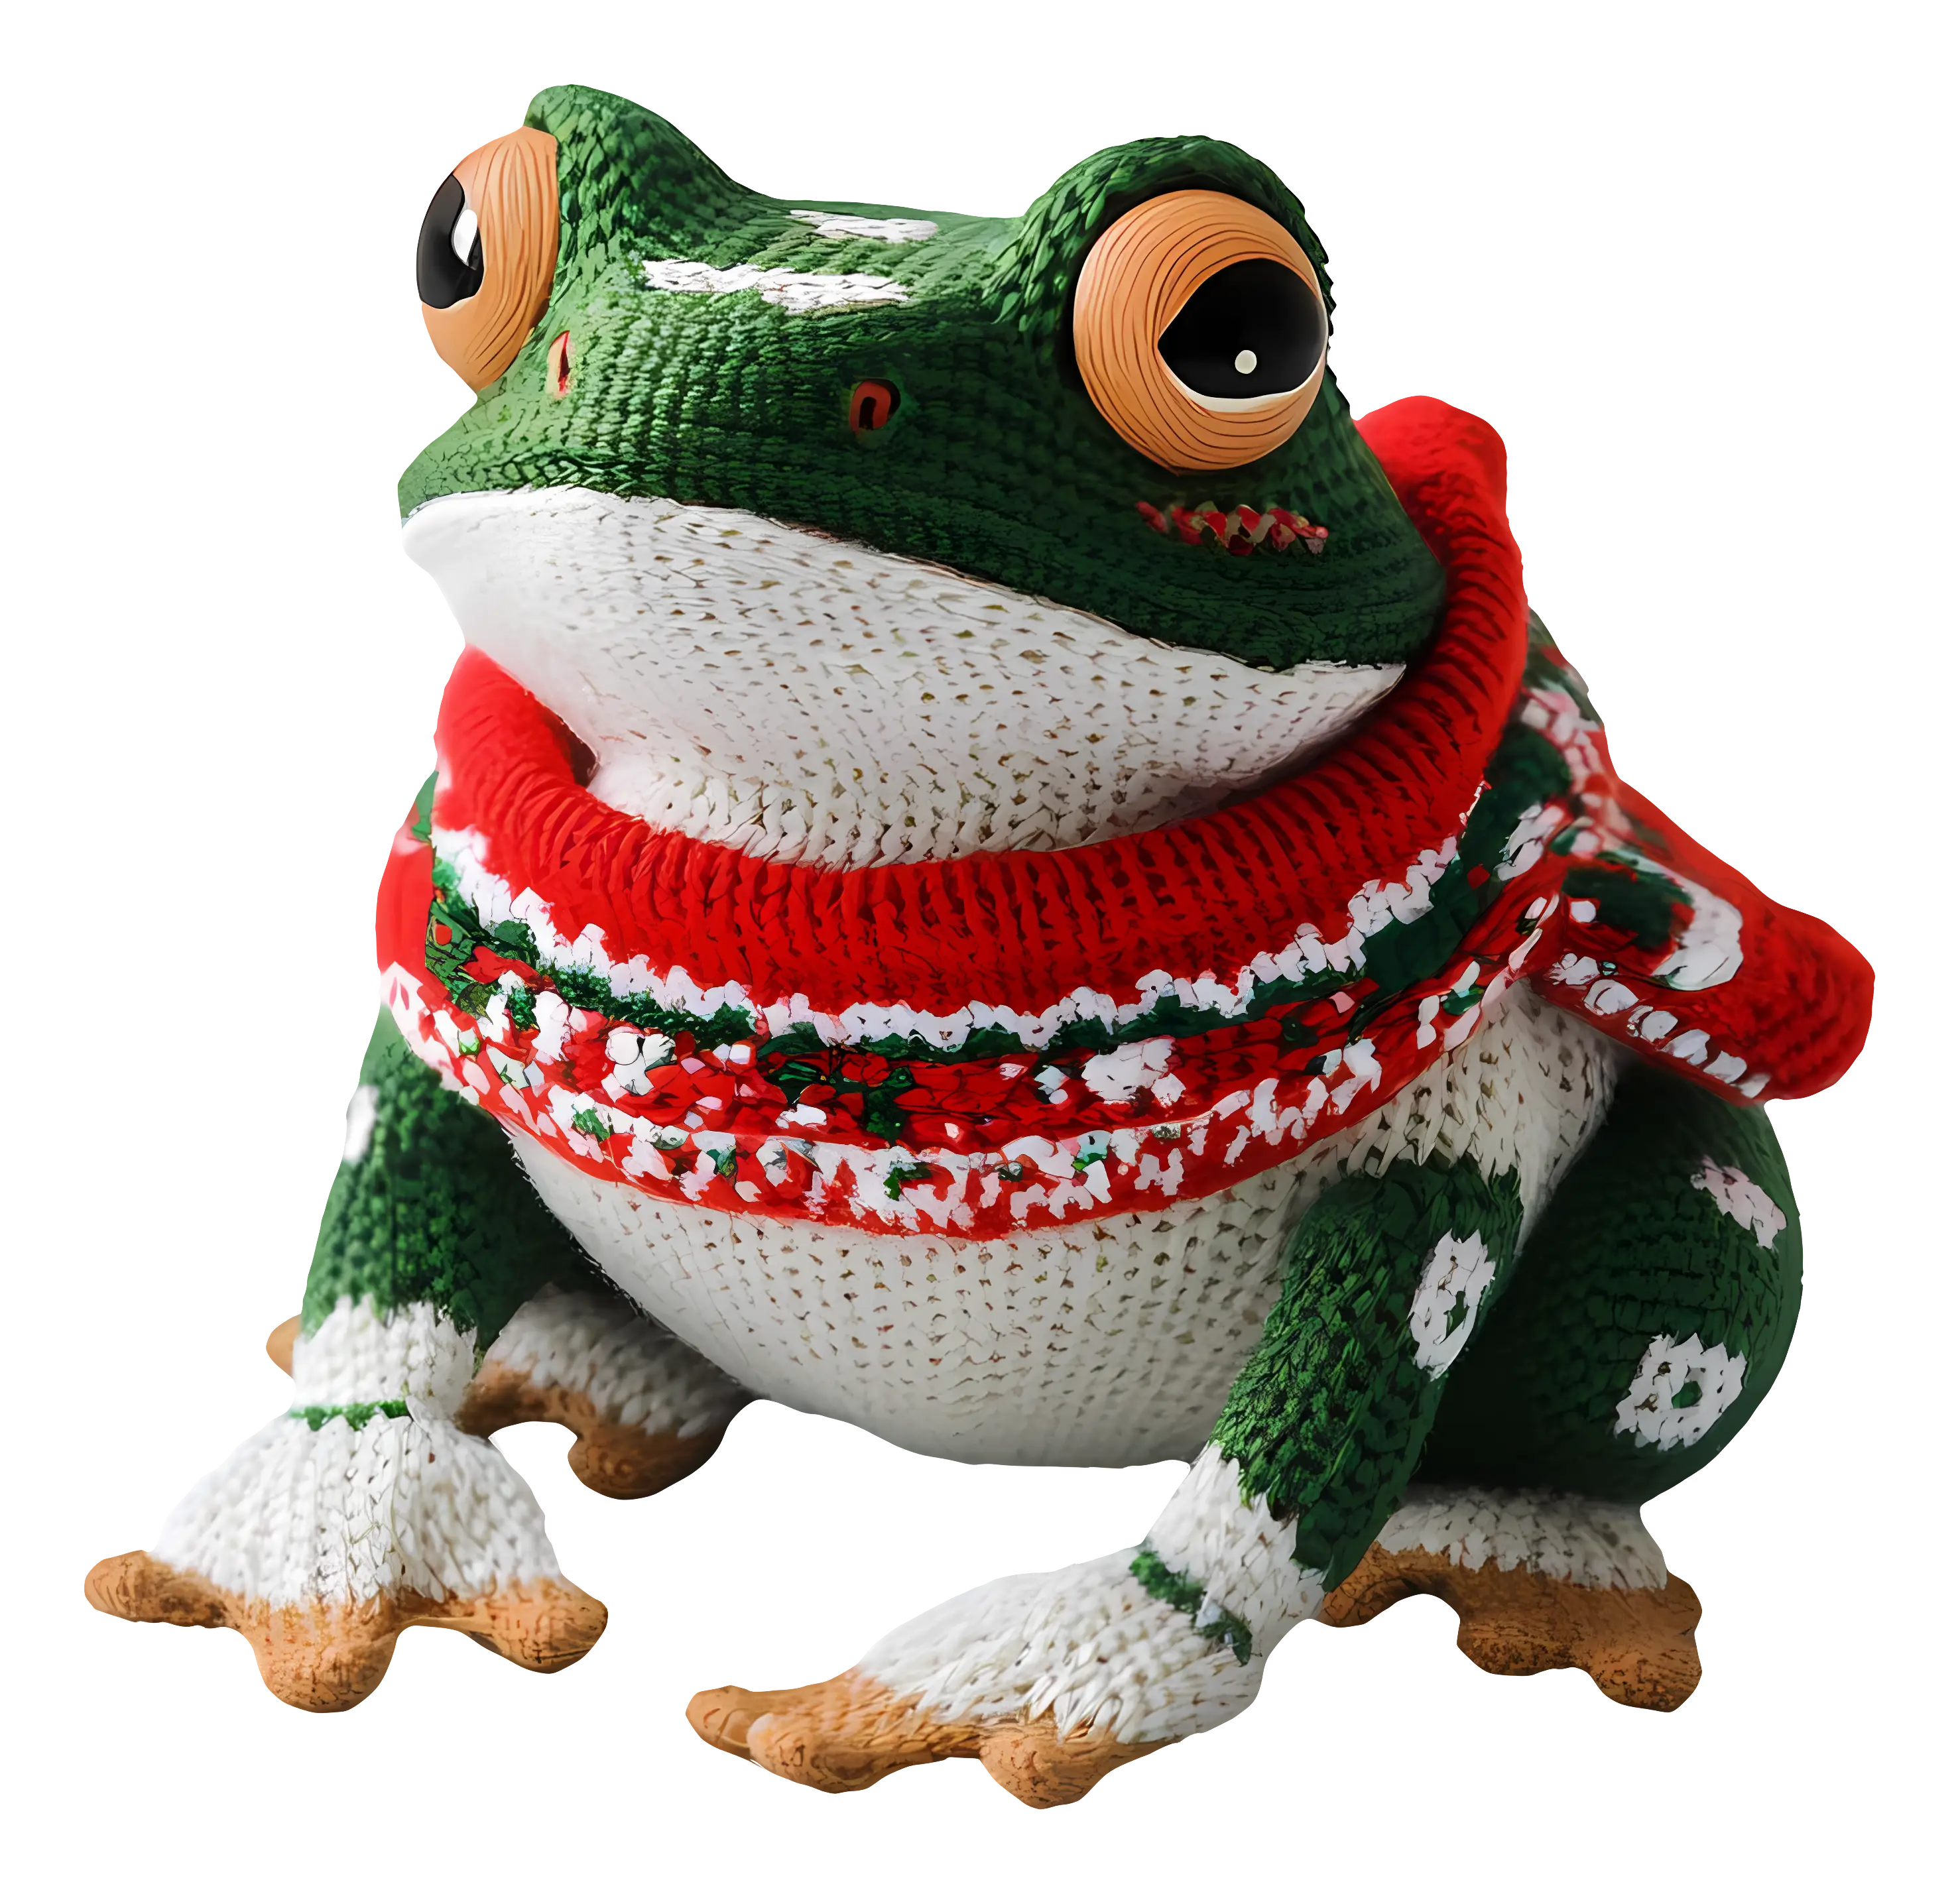
Knitted Frog in Christmas Sweater -
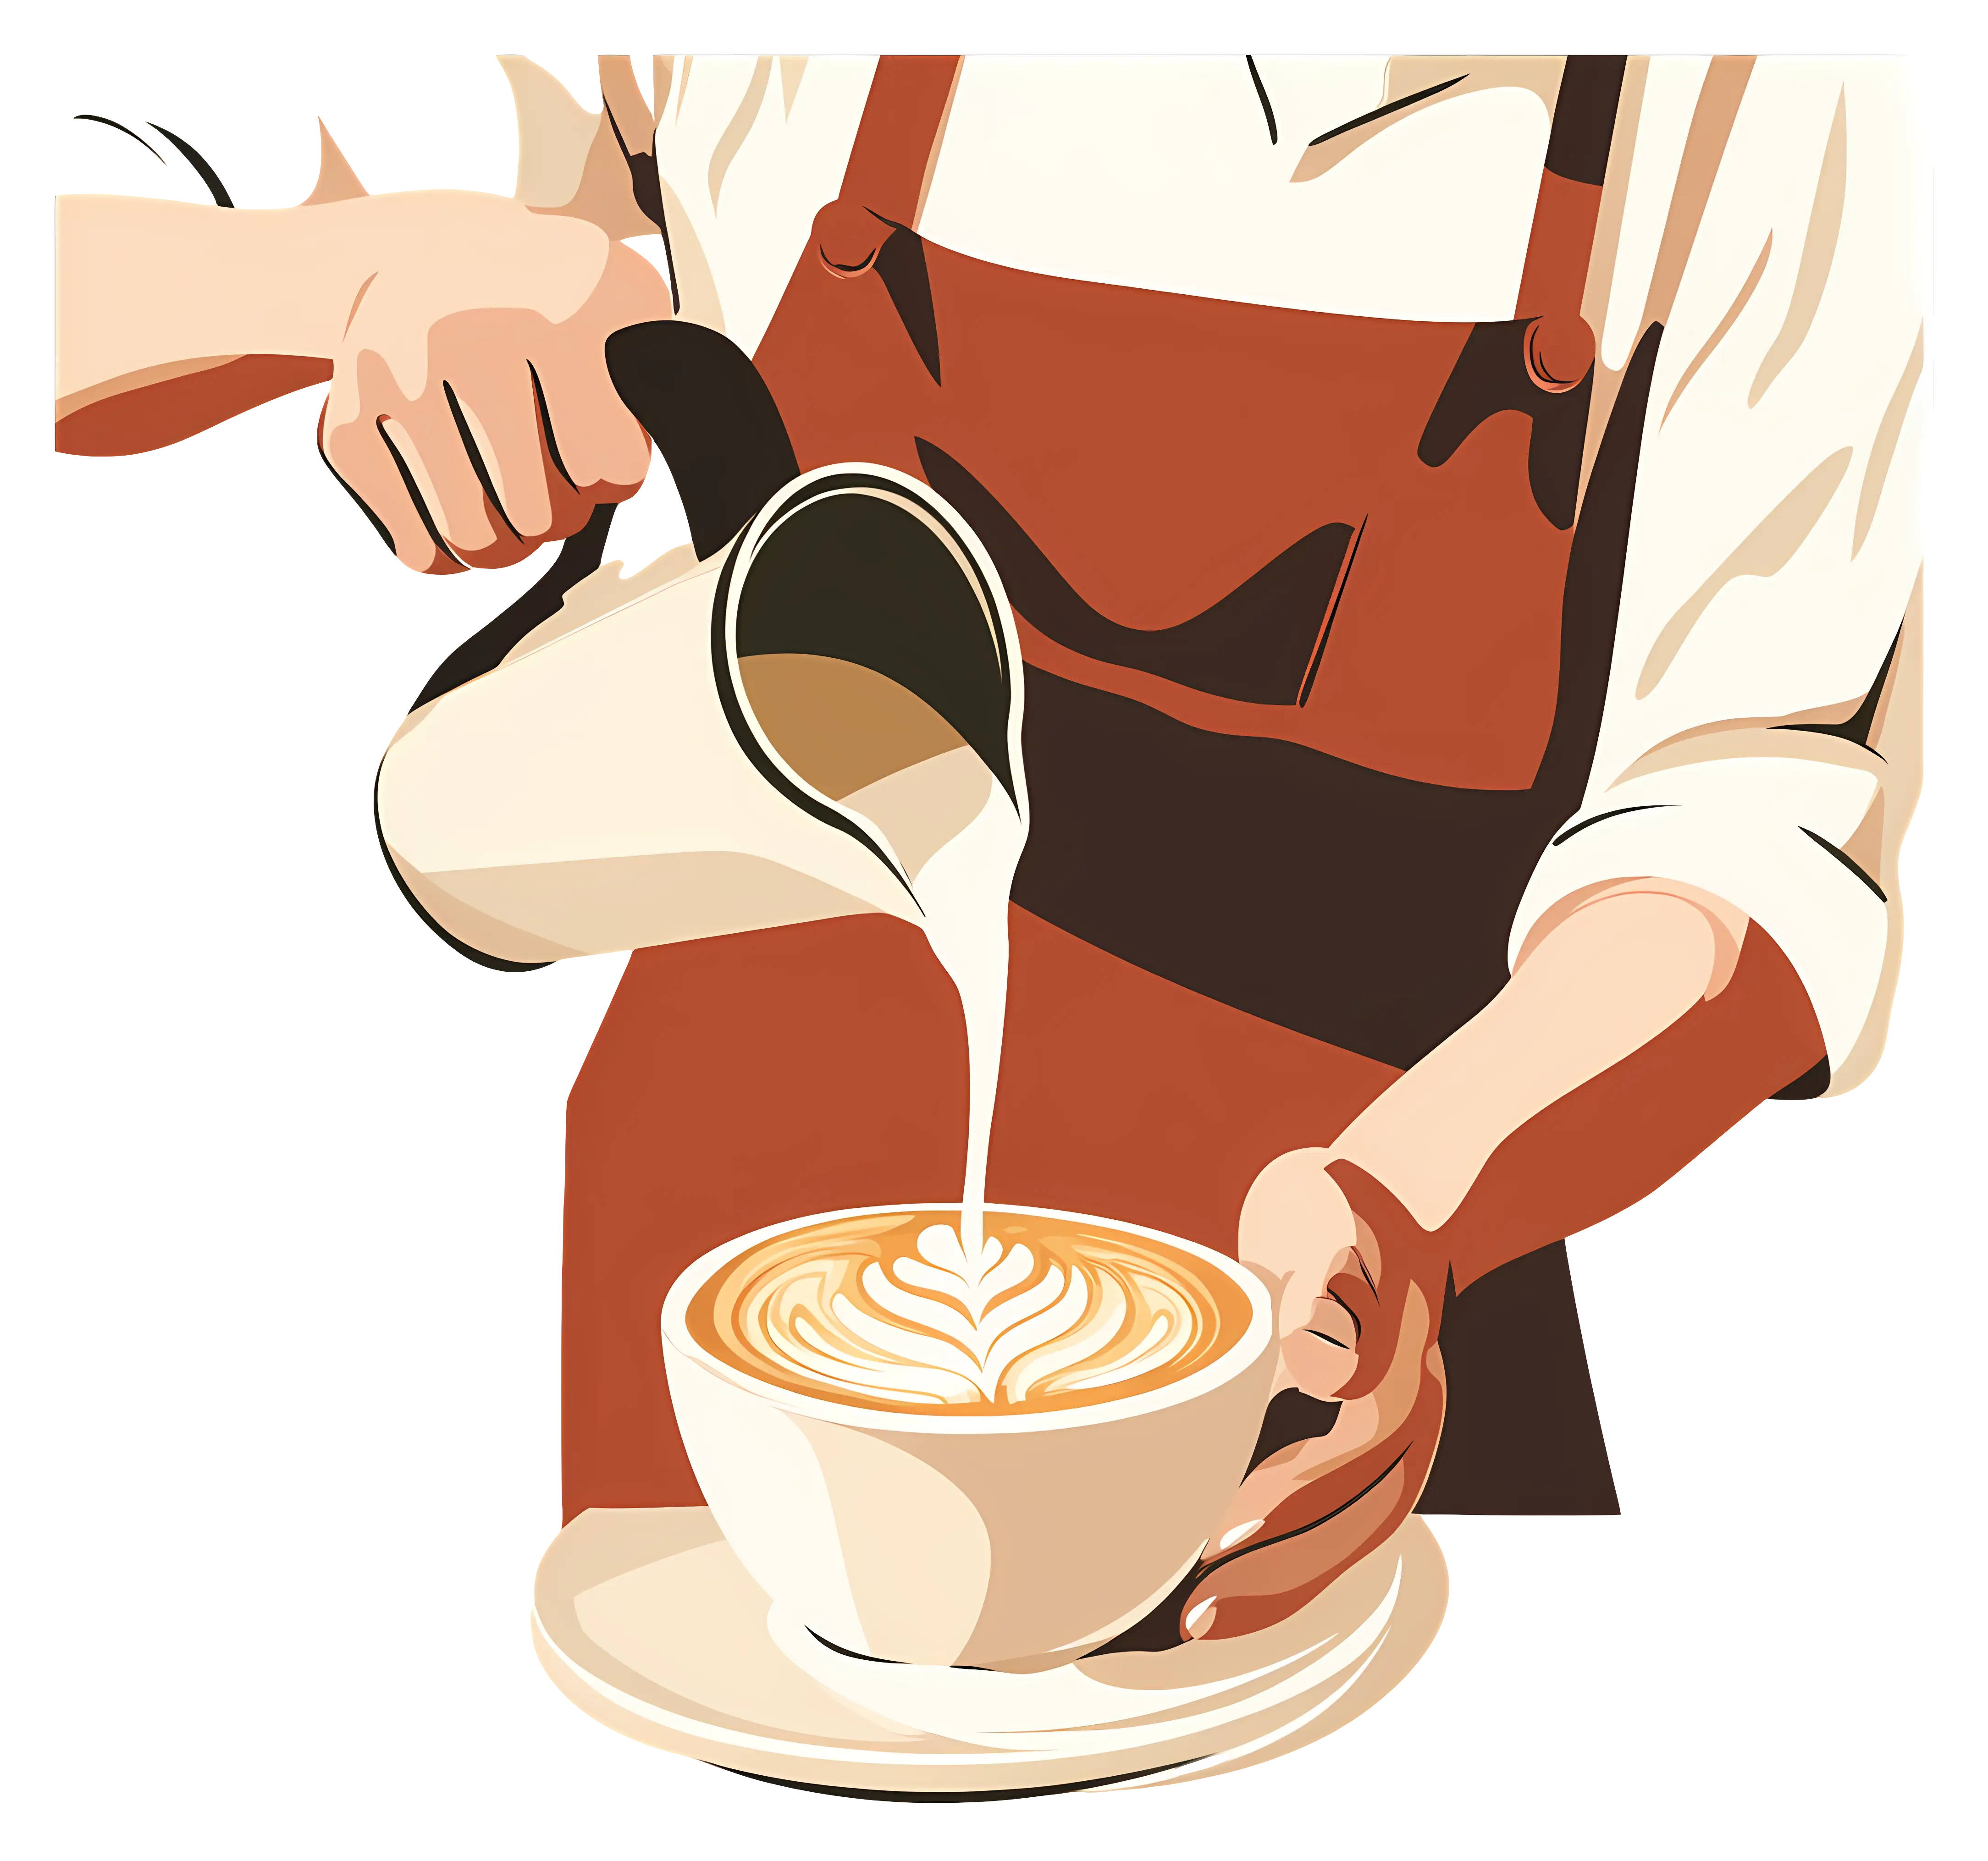
Barista Pouring Coffee Illustration -
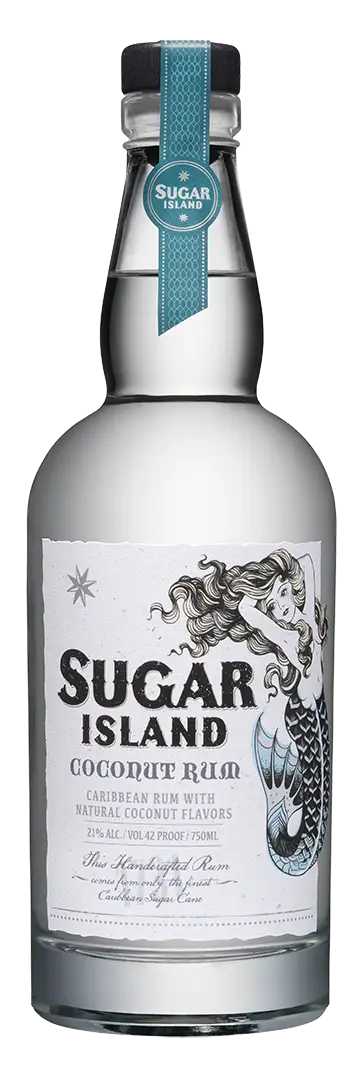
Sugar Island Coconut Rum Bottle -
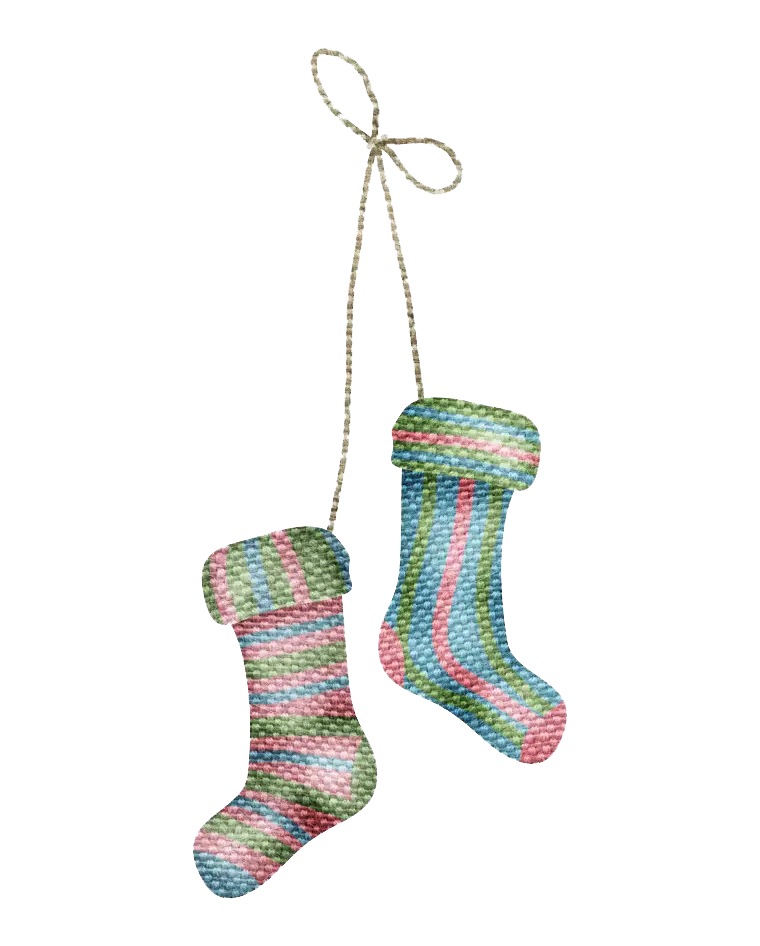
Knitted Stockings Hanging -

Black Paint Roller -
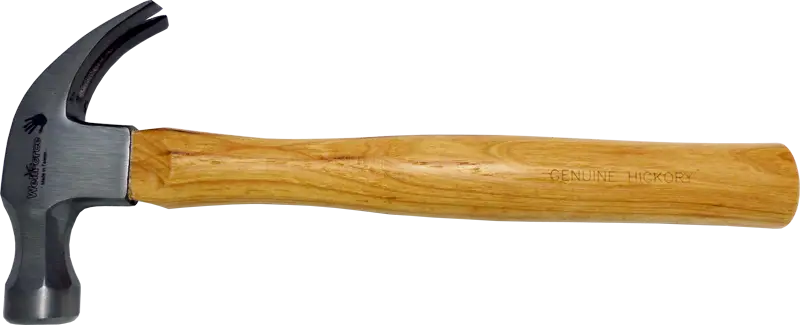
Hammer with Wooden Handle -
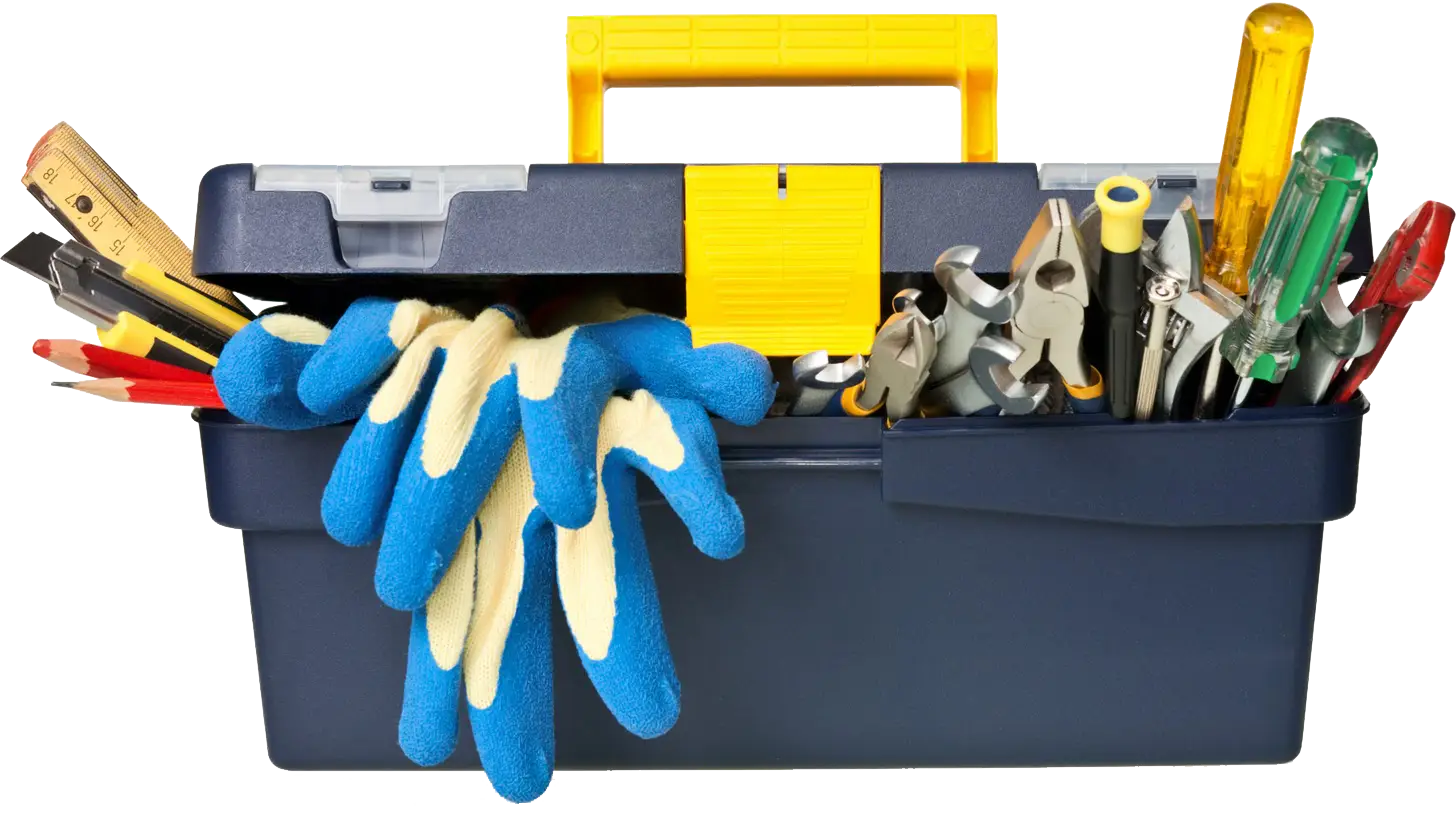
Toolbox with Tools and Blue Gloves -

Folded Newspapers -

Purple Rounded Scissors for Crafting -
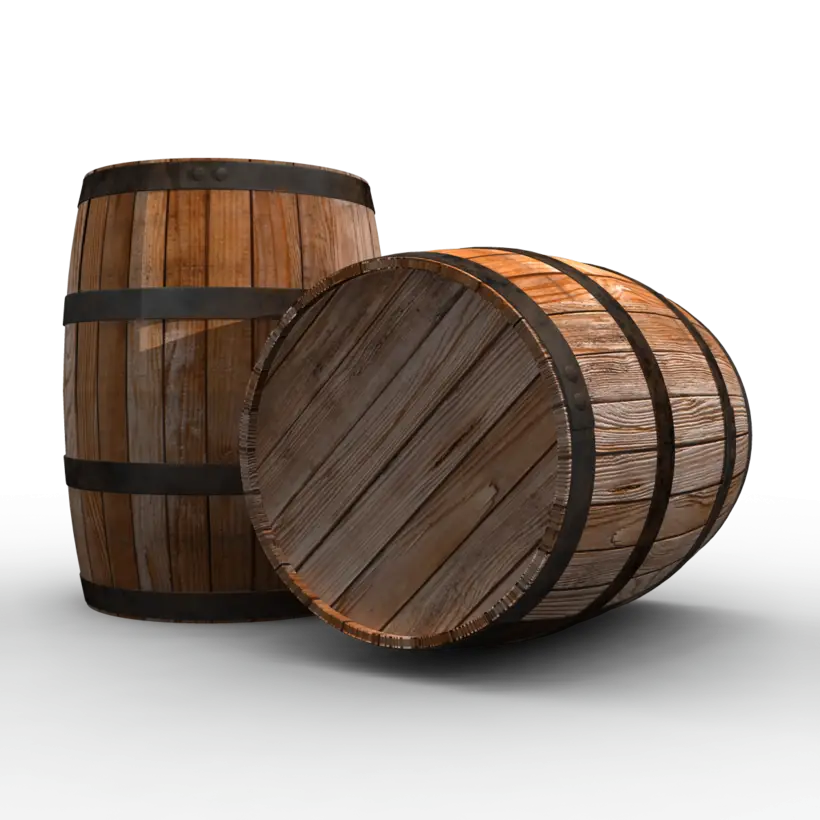
Rustic Wooden Barrels with Natural Texture -
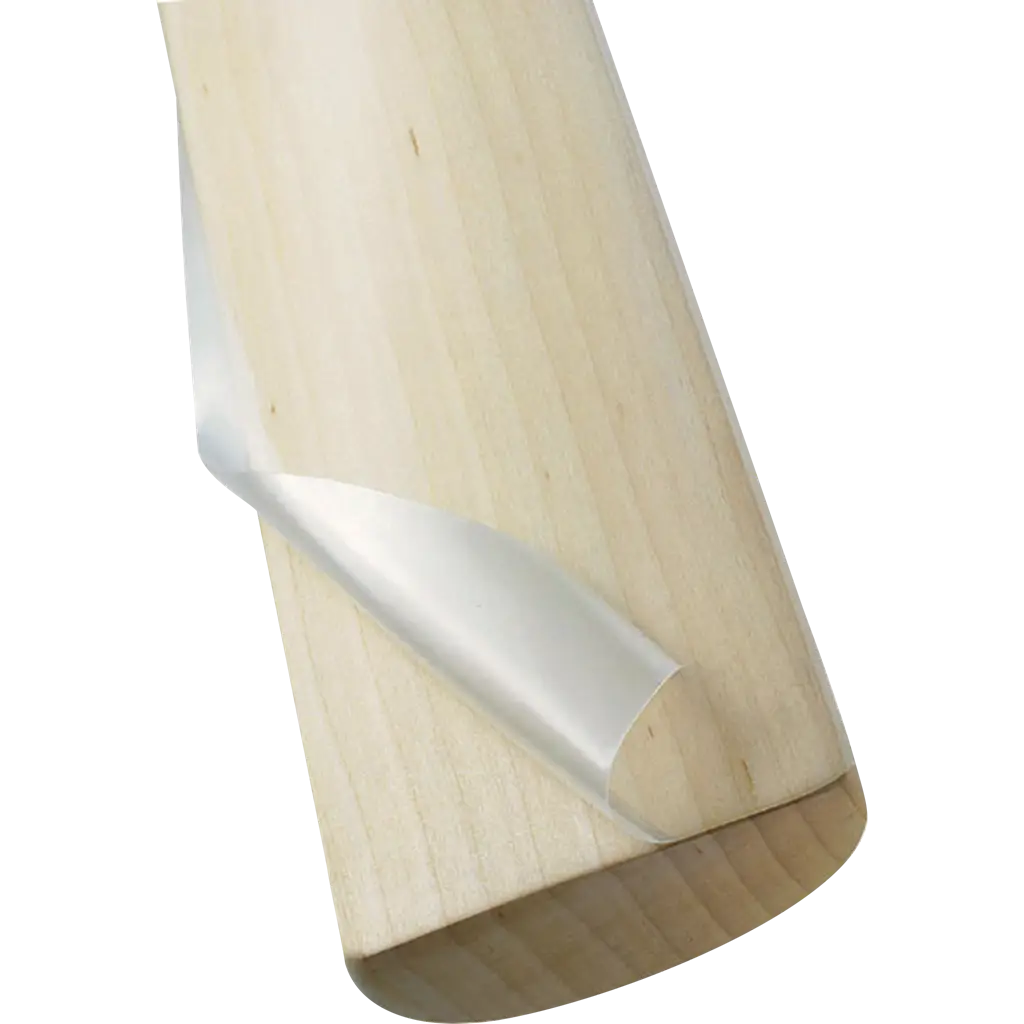
Wood Shaving from Carving -

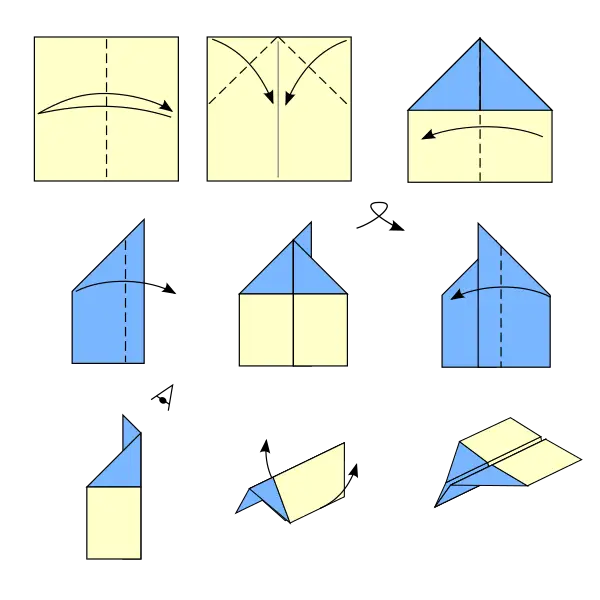
Blue Origami Bird in Minimalist Style -
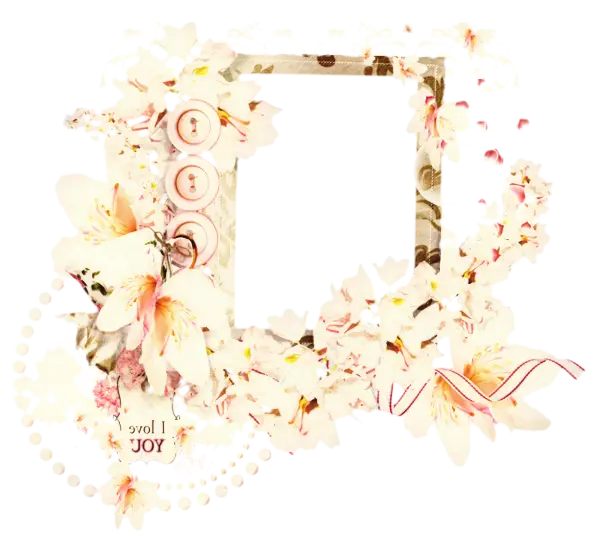
Decorative Frame with Flowers and Buttons -
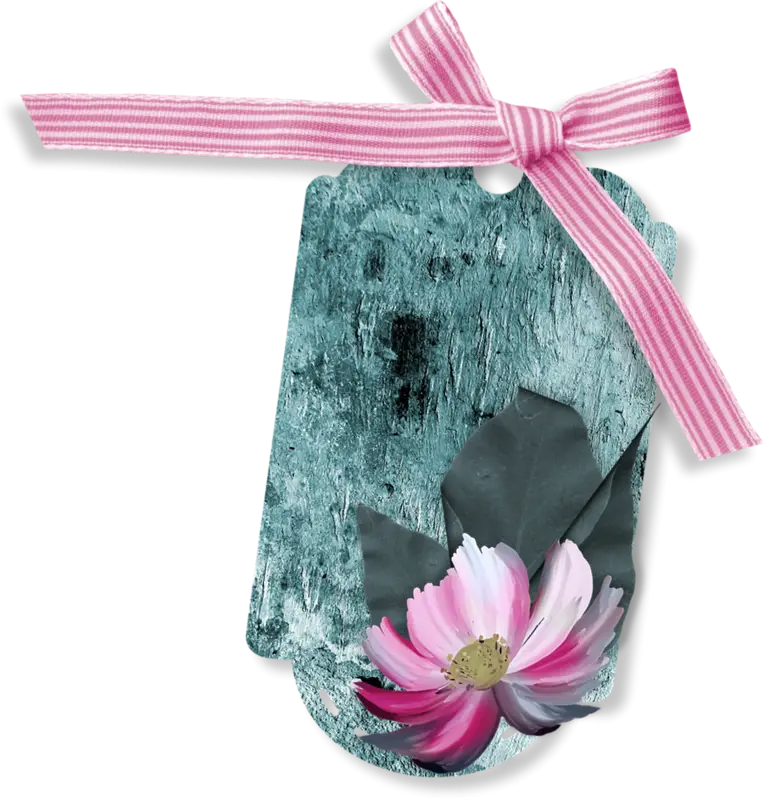
Decorative Tag with Flower and Ribbon -

Vintage Sewing Machine -

Wrench and Screwdriver Tools -
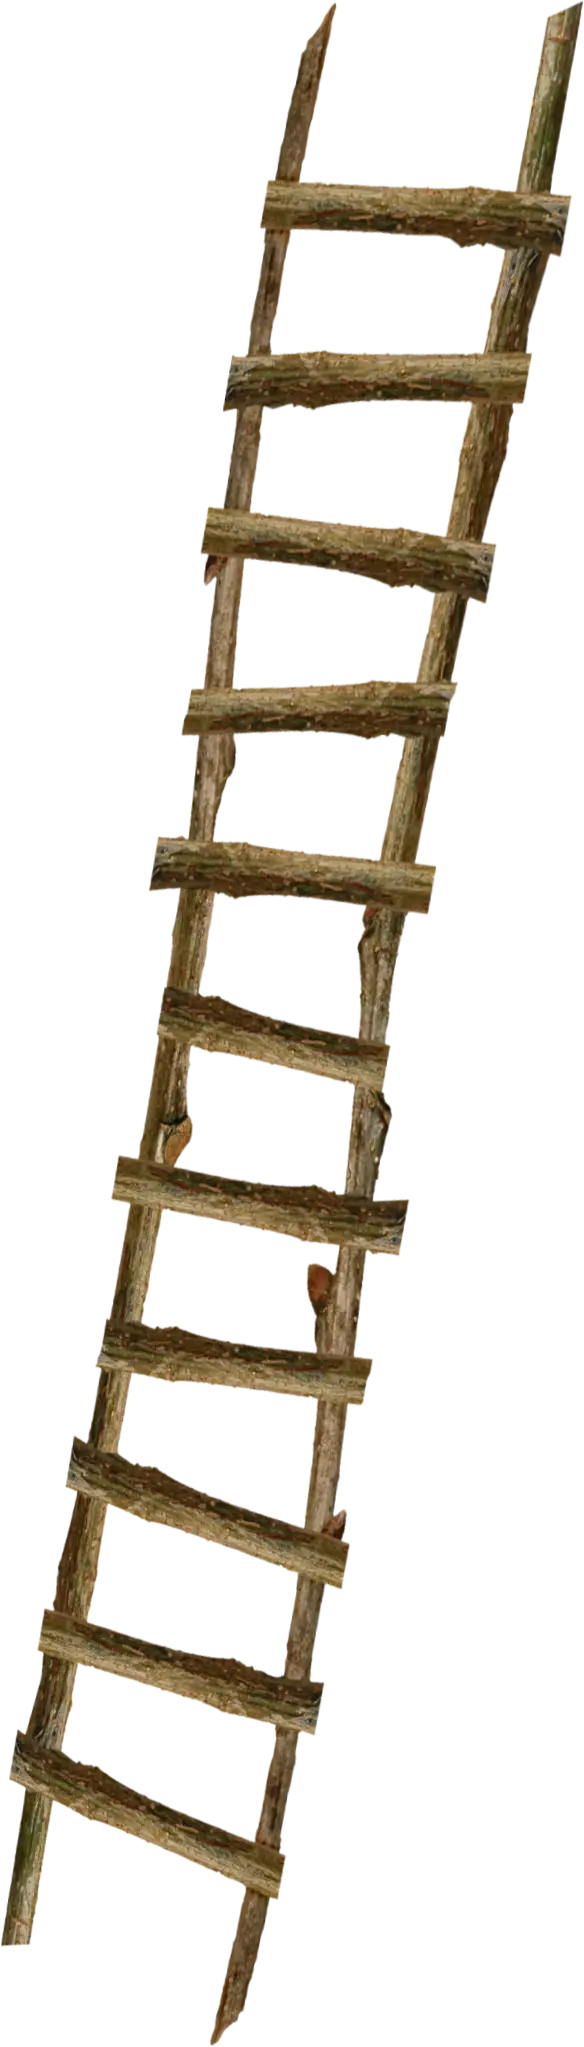
Wooden Ladder with Rustic Design -
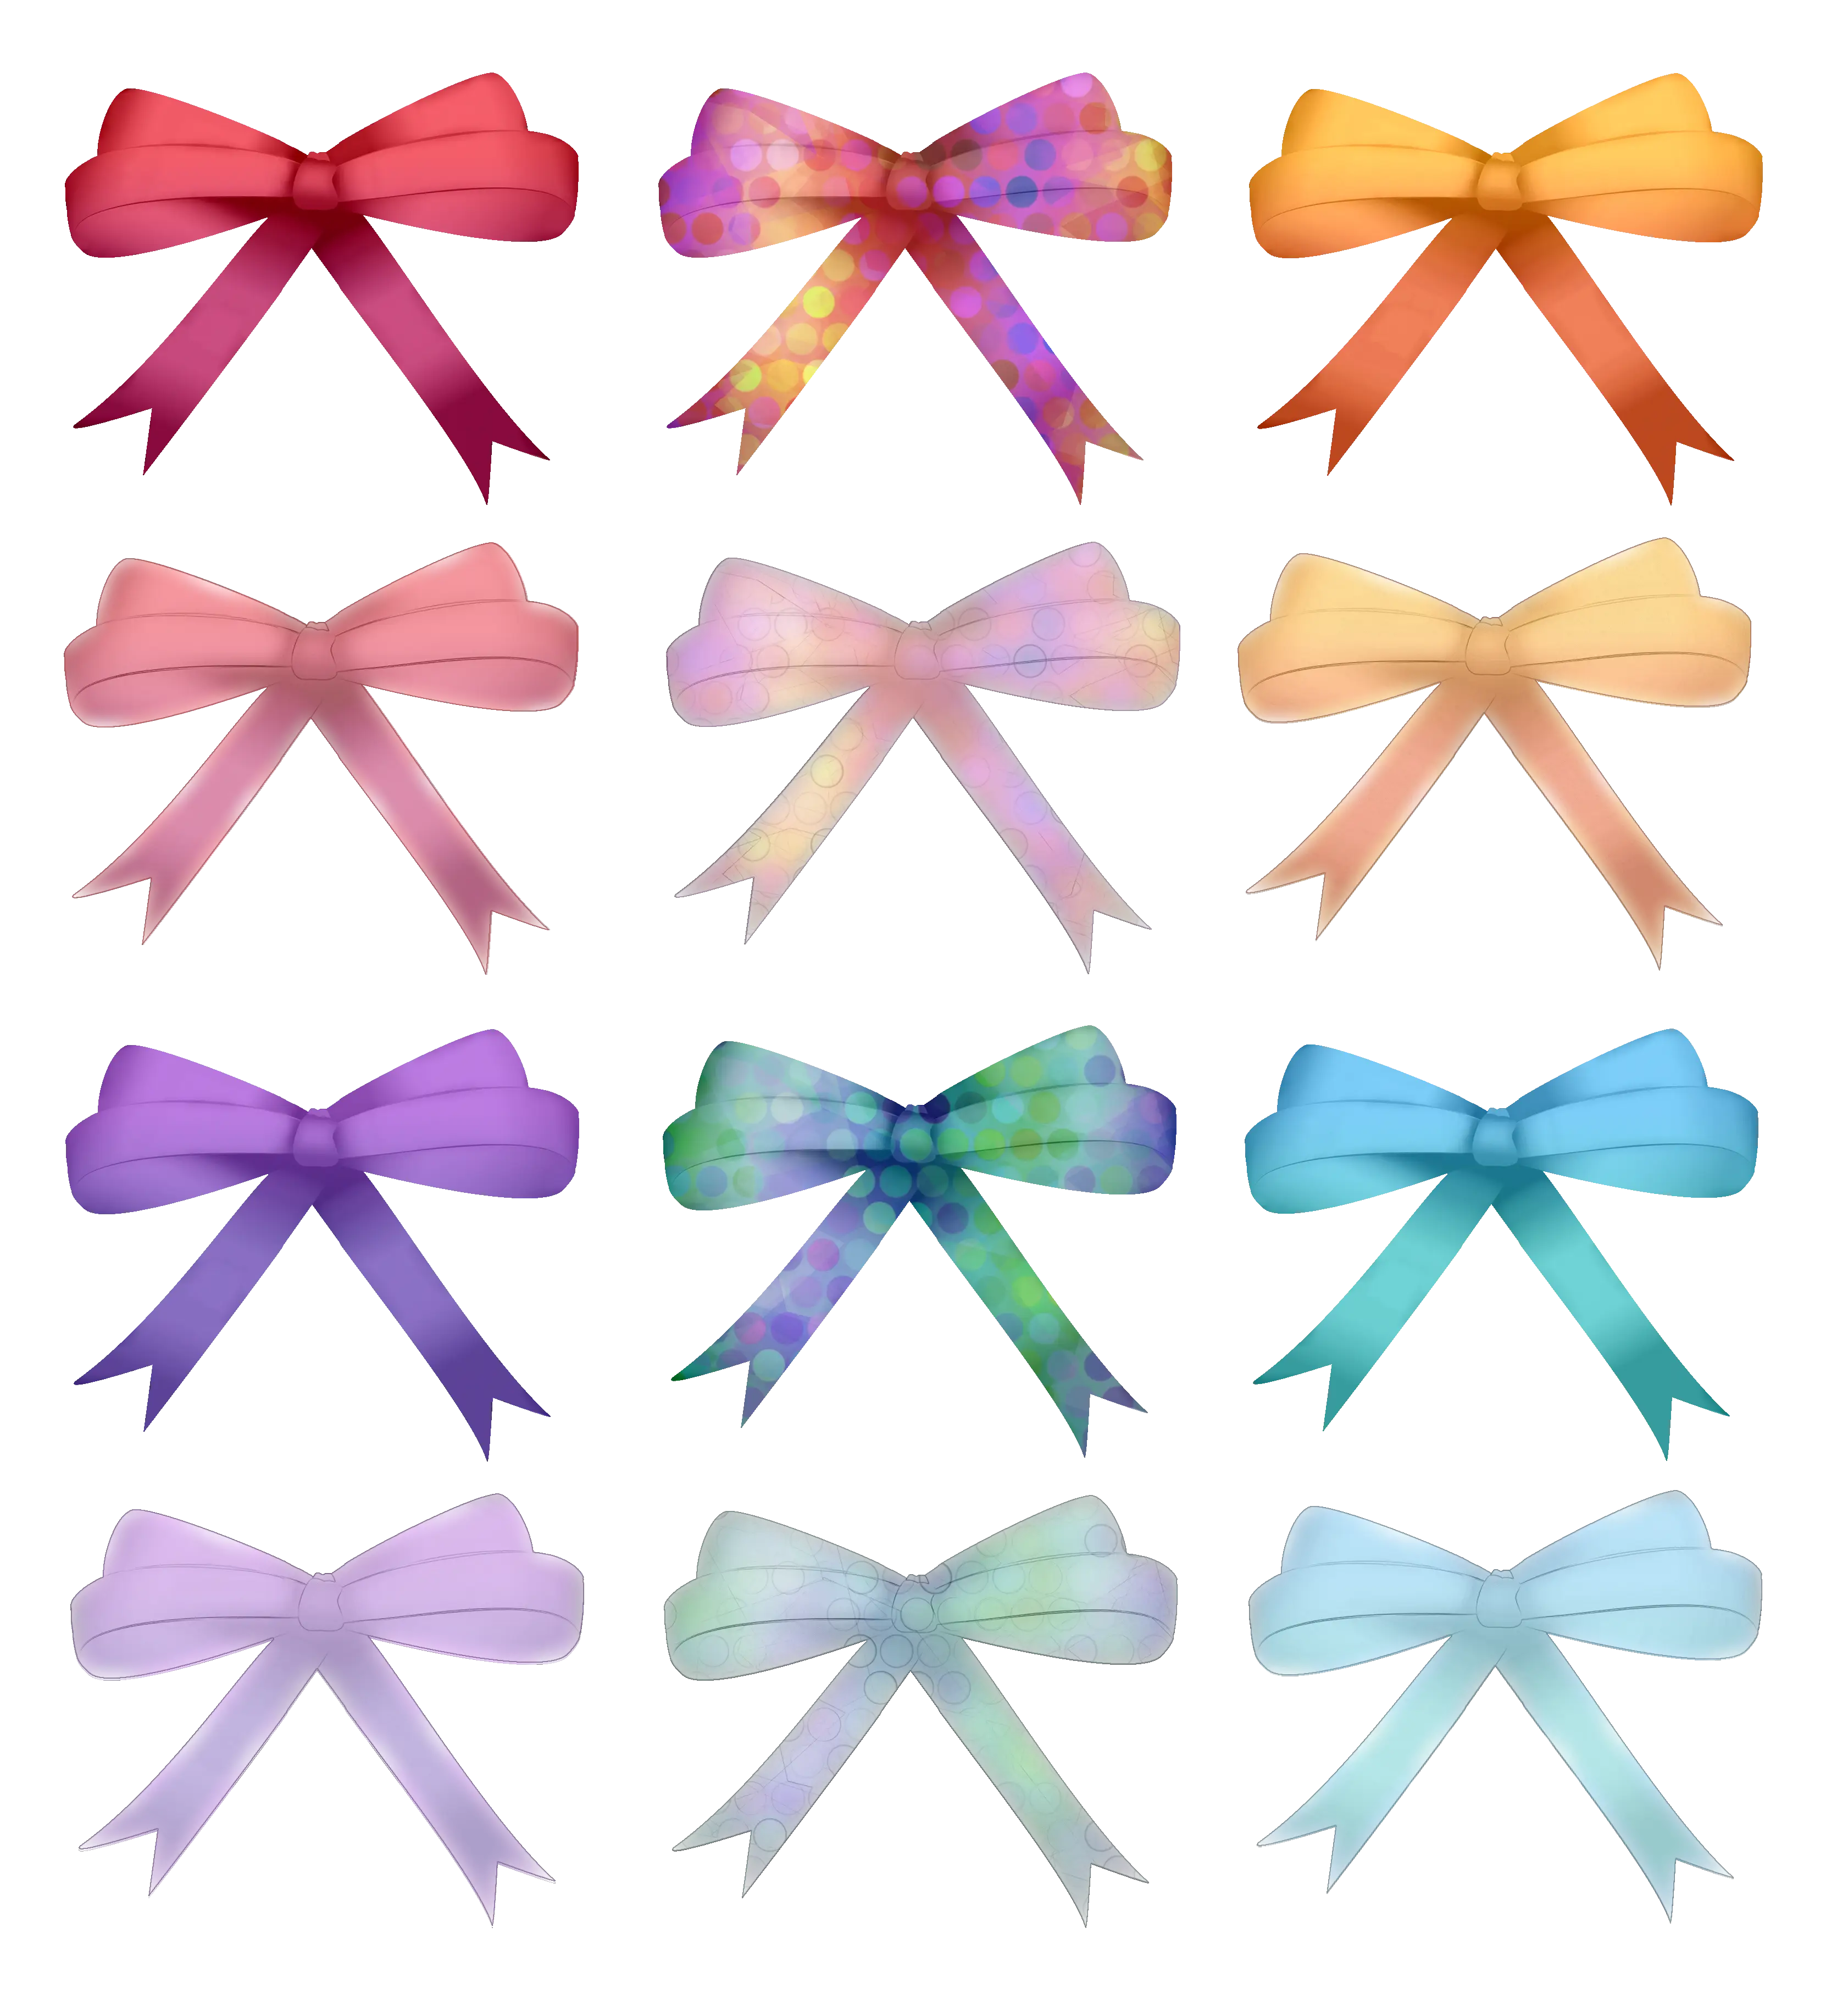
Colorful decorative bows -
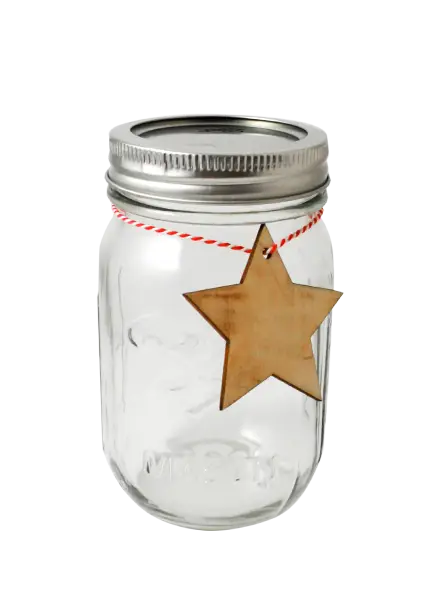
Mason Jar with Star Tag -
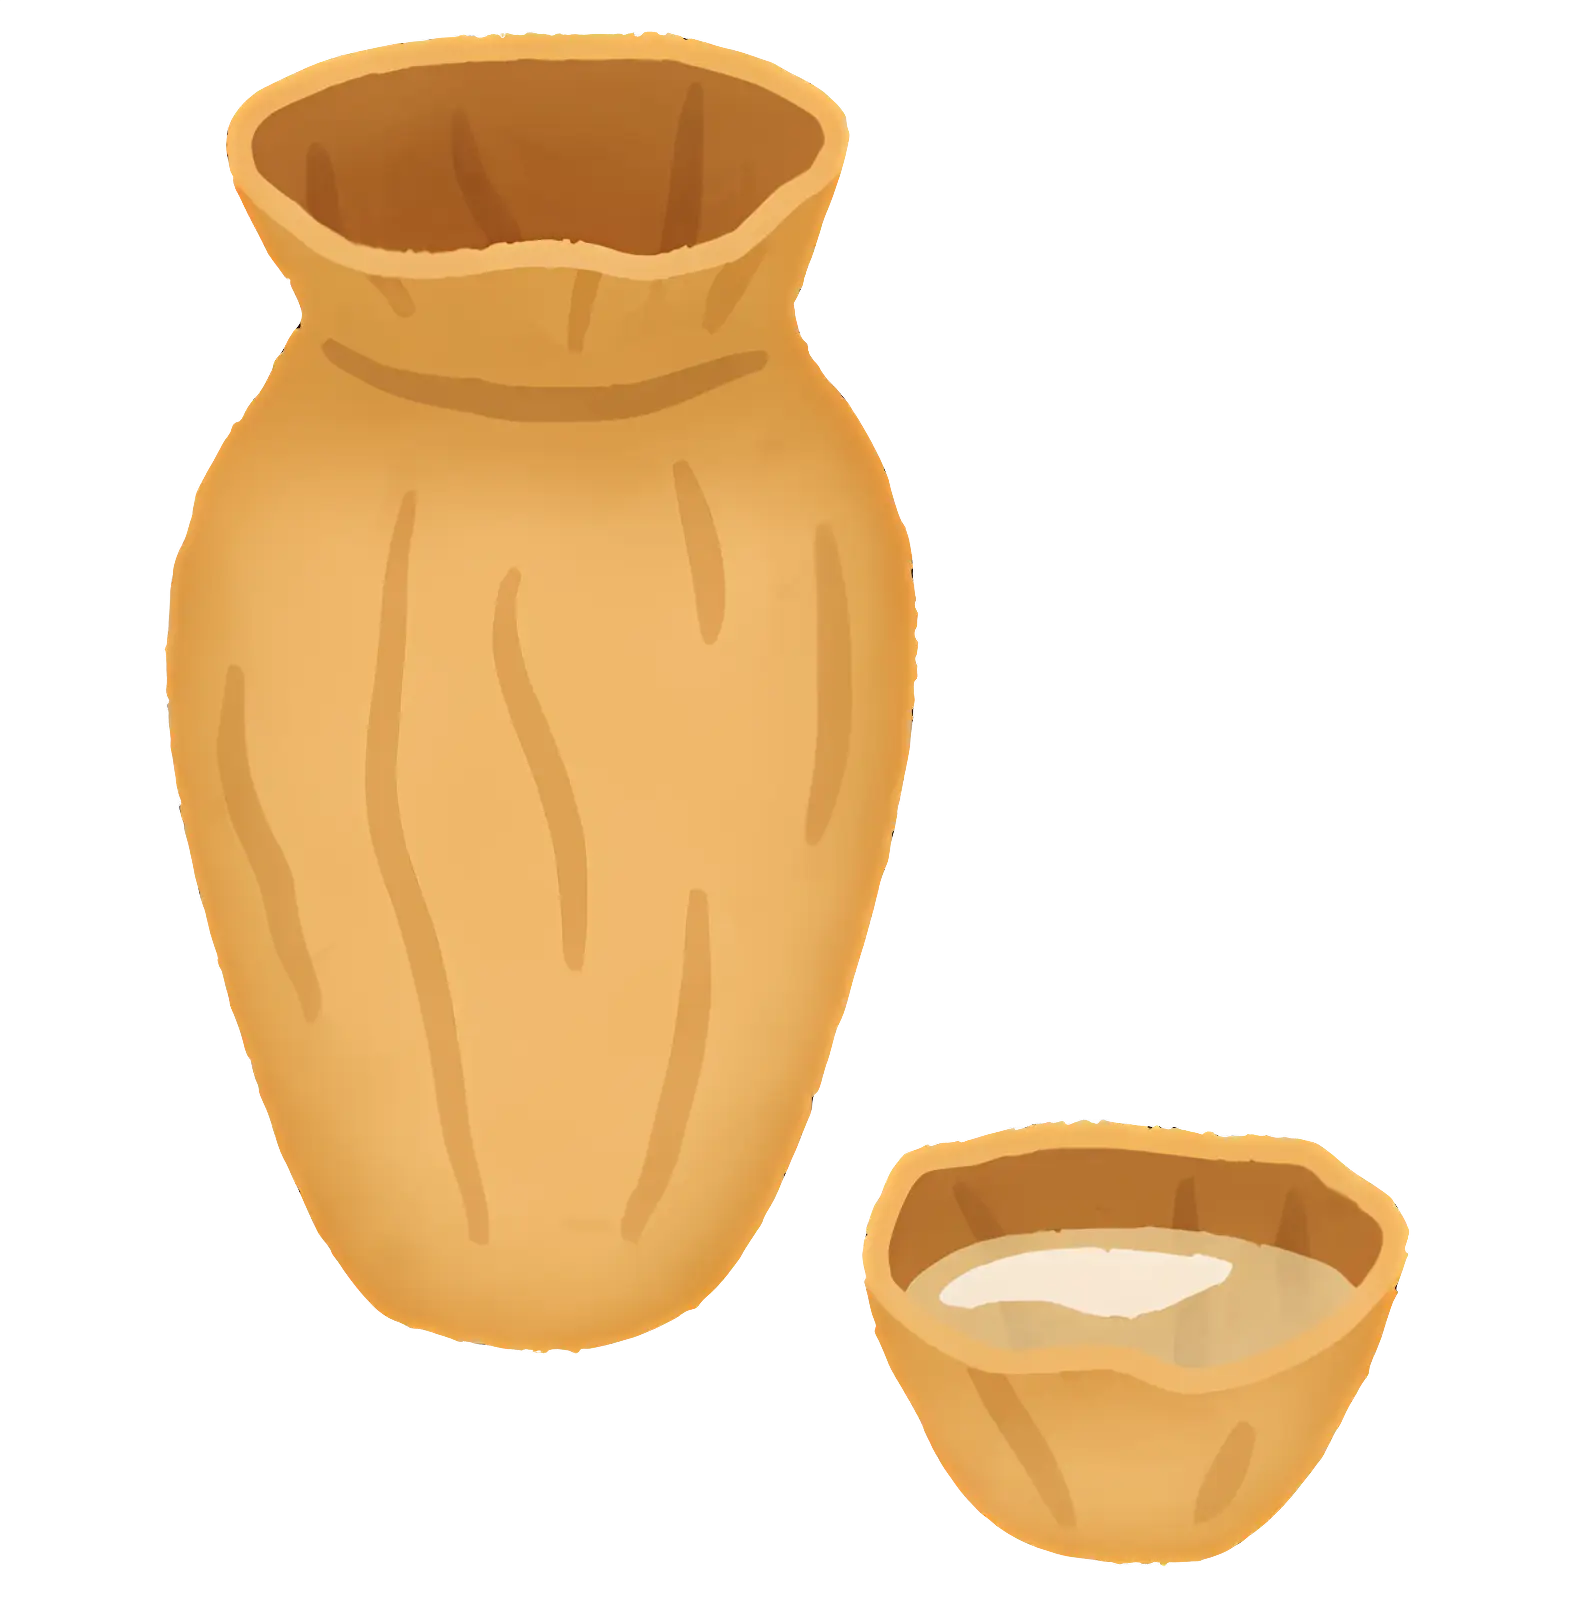
Traditional Clay Pot and Bowl -

Wooden Stamp Illustration -

Green Wrapped Package in Leaf -

Simple Red Bow for Decorations -

Infrared Sensor Module Design -
Construction Worker with Trowel in Hand -

Colorful Pink and Blue Buttons -
Beautiful Decorative Lantern -

Beer Glass and Bottles Illustration -

Black Tumble Dry Icon for Laundry Guidelines